
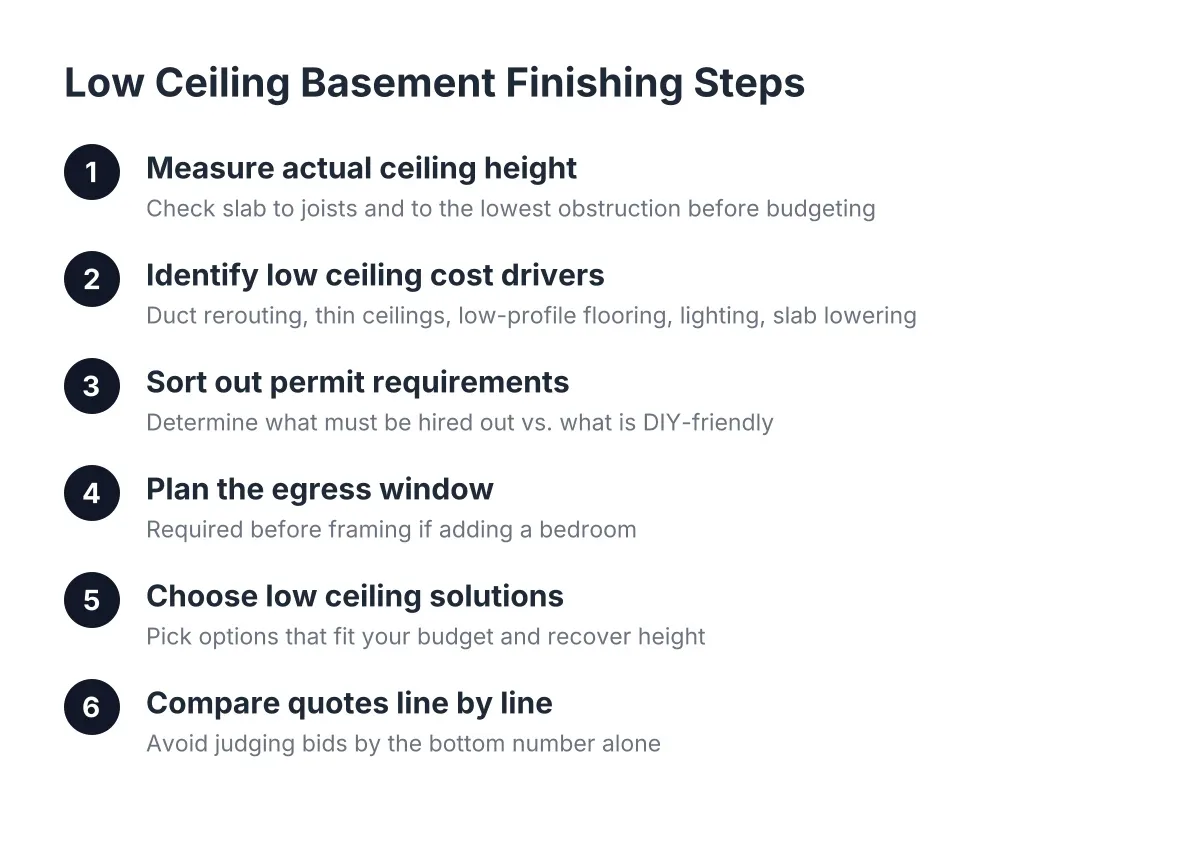
Low Ceiling Basement Finishing: What It Costs and How to Do It Right
Low ceiling basement finishing is one of the most common challenges Aurora homeowners run into when they start pricing out a basement project. The ceiling in an older ranch or split-level often sits at seven feet or less once you measure to the bottom of the ducts. That matters for two reasons: code sets minimum ceiling heights for habitable rooms, and every inch you have to recover adds work, and therefore cost, to the project. This guide walks you through the process step by step, so you know what drives the price, what needs a permit, and where you can save money by doing some of the work yourself.
One honest note before we start. Basement finishing is rarely a dollar-for-dollar payback at resale unless you commit to doing it well. According to the JLC (Journal of Light Construction) Cost vs. Value Report, a national basement remodel returns about 71% of its cost at resale on average. The real return often comes from how you use the space, especially if you plan to rent it as a legal bedroom or small apartment.
Step 1: Measure Your Actual Ceiling Height Before You Budget
First, grab a tape measure and check the height from the slab to the bottom of the floor joists. Then measure again under the lowest obstruction, usually the main HVAC trunk line, a beam, or a drain pipe. Write both numbers down. Those two measurements control your entire budget.
Here is why. Most building codes require habitable rooms to have a minimum finished ceiling height, with limited allowances for beams and ducts. If your joists sit at 7 feet but the main duct hangs at 6 feet 2 inches, you cannot just drywall around it and call the room a bedroom. Something has to move, and moving things costs money.
Measure in several spots, not just one. Slabs are rarely level, and a half-inch difference across the room can change whether a flooring choice works. If your numbers are borderline, this is the point where a free estimate from a local basement finishing contractor is worth getting, because they can tell you whether your specific height passes Aurora's code before you spend anything.
Step 2: Finishing Low-Ceiling Basements and Cost Drivers
Can you finish a basement with low ceilings? Yes, in most cases you can, but finishing a low-ceiling basement costs more than the same square footage with full-height framing. The extra money goes into rerouting ducts and pipes, choosing thinner floor and ceiling assemblies, and sometimes structural work. Each inch you need to recover has a price attached.
The main cost drivers in low ceiling basement finishing break down like this:
- Duct and pipe rerouting. Moving an HVAC trunk line or splitting ductwork so it runs along the walls instead of through the middle of the room is usually the single biggest low-ceiling expense.
- Thinner ceiling assemblies. Drywall attached directly to the joists saves an inch or more over a drop ceiling, but it makes future access to wiring and plumbing harder.
- Low-profile flooring. Thick subfloor systems eat height. Carpet over a thin moisture barrier, or glue-down vinyl plank, keeps more headroom and carpet also cuts down echo in the finished space.
- Recessed or surface-mount lighting. Hanging fixtures are off the table, so you pay for canless recessed lights or low-profile fixtures instead.
- Slab lowering (rare). Digging out the floor is the most expensive route and involves structural underpinning. It only makes sense when nothing else gets you to code height.
Because these choices interact, overall basement finishing cost varies widely from house to house even at the same square footage. Two identical floor plans, one with ducts along the perimeter and one with a trunk line down the middle, can land in different budget tiers. That is why a line-item estimate beats any cost-per-square-foot number you find online.
Step 3: Sort Out Which Parts of the Project Need a Permit
In Aurora, finishing a basement requires a basement remodeling permit, full stop. You do not need to hire a contractor for everything, but you do need the city to sign off on the work. As a homeowner you can pull your own permit and do much of the labor yourself, which is where the savings live.
Here is a practical split that works for most DIY-minded homeowners:
- Permit required, often worth hiring out: electrical rough-in, new plumbing, moving gas lines, structural changes like cutting a foundation for an egress window, and major duct rerouting.
- Permit covered under the same project, DIY-friendly: framing non-bearing walls, hanging insulation, drywall, taping, painting, trim, and flooring.
- No permit needed: paint, carpet over an existing finished floor, and furniture-level changes.
However, the inspection covers everything under the permit, including your DIY framing and drywall. The inspector checks framing before insulation, insulation before drywall, and so on, in sequence. Skipping an inspection stage is the classic mistake that forces homeowners to cut open finished walls later. Schedule each inspection before you cover the work, and you avoid the horror stories your neighbor told you about.
One technical detail worth knowing if you run your own wiring under a licensed electrician's guidance or the city's homeowner provisions: Romex is not meant for exposed conduit runs, and running it inside EMT is against code in damp or wet locations, according to the National Electrical Code (NFPA 70). Details like this are exactly why electrical is the trade most DIYers hand off.
Step 4: Plan the Egress Window Before You Frame Anything
If your low ceiling basement finishing project includes a bedroom, the egress window is not optional. Under the IRC 2024 code, every basement sleeping room needs an emergency escape and rescue opening with at least 5.7 square feet of net clear opening, according to EgressUSA. In addition, the opening must have a maximum sill height of 44 inches above the finished floor and a minimum net clear opening width of 20 inches, according to The Great Egress Co.
Low ceilings make egress window sizing trickier, not easier. With less wall height to work with, hitting both the 5.7 square foot opening and the 44-inch maximum sill height can force a wider window or a deeper well excavation. Get the egress window sizing confirmed on paper before you frame a single wall, because the window location fixes where the bedroom can go.
Cutting a foundation wall for a basement escape window is structural work. This is the one part of the project where even confident DIYers should bring in a pro, both for the cut itself and for the permit paperwork that goes with it. A contractor who handles egress window installation and code compliance locally will also know Aurora's inspection sequence, which saves you a failed inspection and a second trip fee.
Step 5: Choose Low Ceiling Solutions That Fit Your Budget
Next, match the design fixes to the money you actually want to spend. Low ceiling basement finishing ideas range from nearly free to structural, and the right mix depends on your starting height and your end use.
For example, suppose a house-hacker in an Aurora rental zip code has a 6-foot-10 basement with one trunk line crossing the future living room. In that scenario, a sensible plan reroutes the duct to the perimeter and boxes it into a soffit, drywalls directly to the joists, and runs glue-down plank in the main room with carpet in the bedroom. The bedroom gets a code-compliant egress window, and the layout keeps the space at the bottom of the stairs inside the finished area instead of wasting it on storage. That last point matters; a surprising number of layouts finish only one side of the stairs and throw away usable square footage right at the entry.
Other low ceiling basement remodel ideas that stretch perceived height without structural cost:
- Paint the ceiling and walls the same light color so the edge between them blurs.
- Run vertical design elements, such as slat paneling, up the staircase so the eye reads height on the way down.
- Use open floating shelves instead of upper cabinets at a dry bar to keep sight lines open.
- Box ducts into a tray ceiling around the room's perimeter so the center stays at full height.
Moisture comes before any of it. More than 60% of U.S. homes with basements have some degree of water penetration or moisture problems, according to the American Society of Home Inspectors. Fix drainage and sealing first, because no flooring or ceiling choice survives a wet slab.
Step 6: Compare Quotes Line by Line, Not by the Bottom Number
Finally, when you collect estimates, make every contractor break out the low-ceiling work separately: duct rerouting, egress window installation, and any structural items. Quotes vary wildly on low ceiling jobs because one bidder plans to move the ducts and another plans to drywall around them. Those are different projects at different prices, and the cheap quote may be the one that fails inspection.
Ask each bidder three questions. What finished ceiling height will I have in each room? Which inspections does your scope cover? What happens to the price if the duct reroute uncovers a problem? A contractor who answers those plainly, in writing, is giving you a real number. A free estimate that itemizes those lines gives you a budget you can defend, whether you hire out the whole job or only the technical parts and keep the drywall and paint for yourself.
If you need basement finishing, Aurora Basement Finishing Pros can help.
Prefer to talk it through? Call (720) 973-5727 — a quick call is usually the fastest way to get a straight answer for your situation.